
DIY Faucet Valve Seat Replacement Guide
Believe it or not, a leaky fixture can pour out over 3,000 gallons of water each year! That volume could fill a kiddie pool! Fixing worn-out components saves money and conserves water—no plumbing experience needed.
This guide makes repairs simple. With the right tools and parts from Installation Parts Supply, you’ll stop leaks fast. Dodge high plumber bills and achieve a drip-free home with faucet seat replacement.
Adhere to these instructions for an easy replacement. Top-grade parts deliver durability and boost your DIY confidence.
Key Takeaways
- Drips spike water costs—simple repairs save both water and money.
- Tackling it yourself cuts out plumber fees.
- High-quality parts from trusted suppliers improve durability.
- Basic tools and clear guidance suit any skill level.
- Regular maintenance extends the life of your fixtures.
The Importance of Replacing Faucet Valve Seats
A tiny leak feels minor—until it causes major issues. Deteriorated parts drain water, raise costs, and threaten your home. Early repairs cut costs and maintain smooth operation.
Spotting a Faulty Valve Seat
Be on the lookout for:
- Persistent drips even with the faucet off.
- Variable water pressure and uneven spurts.
- Corrosion spots or pitting on metal.
For example, a kitchen leak disrupts cooking and stains sinks. Timely action prevents bigger headaches.
The Mechanics of Valve Seat Wear
Limescale and friction gradually erode metal parts. Tiny gaps form and water starts seeping out. Valve seat corrosion, if unaddressed, can destroy the unit.
Trust Installation Parts Supply for durable replacements. Their parts resist buildup, ensuring a tight seal and lasting performance.
Quick leaking faucet repair protects your home and conserves water—up to 3,000 gallons yearly!
Tools and Parts You’ll Need for the Job
The right kit makes for a durable, leak-proof repair. No matter the leak size, these supplies cut effort and fuss. Collect the following tools and parts:
Must-Have Tools for Valve Seat Replacement
A basic plumbing tools list includes:
- Adjustable wrench for nuts and fittings.
- Seat extractor wrench—to pull old seats.
- Screwdriver set—to remove handles and screws.
- Pliers—to hold and remove pins.
Use a seat-grinding bit to clean badly corroded seats. A faucet repair kit with seats, washers, and O-rings covers most replacements.
Buying Parts
Don’t settle for disposable components. Installation Parts Supply stocks long-lasting, compatible parts across the US. Each kit comes complete with seals and tech support.
| Essential Tools | Extras |
|---|---|
| Adjustable spanner | Valve-seat grinder |
| Seat wrench | Heat source |
| Faucet repair kit | Tubing cutter |
Spending on quality gear is worth it. You’ll avoid repeat repairs and enjoy a drip-free home for years.
Valve Seat Replacement Steps
Stop wasting water with this simple DIY fix anyone can master. Whether you’re a beginner or a seasoned DIYer, these steps ensure a smooth process. Grab your gear and begin.
Step 1: Cut Water & Take Apart
Locate the shutoff valves under the sink and turn them clockwise. Turn the faucet on to drain any water left. Unscrew the handle and then the retaining nut using your tools.
Tip: Tag components with labels so you know where they go. Consider Installation Parts Supply’s rust-resistant nuts for longevity.
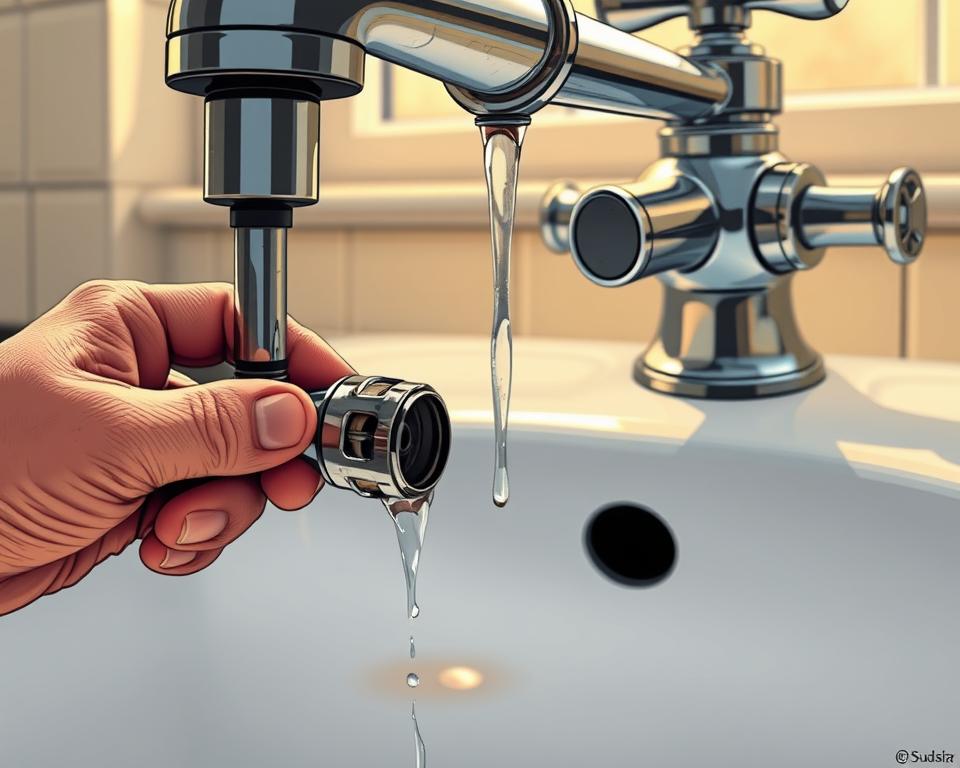
Step 2: Extract the Worn Seat
Inspect the assembly for corrosion. Fit a seat wrench into the worn component and turn counterclockwise. For stubborn cases, apply penetrating oil and wait 10 minutes before retrying.
| Common Challenges | Solutions |
|---|---|
| Seized seat | Use heat (carefully) or a locking plier |
| Stripped threads | Replace the entire housing |
Step 3: Install the New Valve Seat
Clean the threads with a wire brush. Position the new *replace valve seat* from *Installation Parts Supply* and tighten by hand. Use your wrench to snug it up—don’t over-torque.
Step 4: Reassemble and Test for Leaks
Reassemble parts in the opposite sequence. Restore water flow slowly. Watch for any leaks—snug fittings a bit more if needed. Nailing this DIY faucet repair keeps your bills low!
The Final Word
Enjoy peace of mind with sturdy, leak-free plumbing. Fixing worn parts early saves water, cuts bills, and prevents costly damage.
Follow these directions and you’ll succeed on your first try. Count on Installation Parts Supply for parts that withstand wear.
Add these faucet maintenance tips to your routine: inspect washers annually and tighten loose handles promptly. A bit of upkeep today prevents major overhauls tomorrow.
Ready to put your skills to work? Grab your tools, follow the steps, and enjoy a drip-free home today!